Showing posts with label eggless. Show all posts

Sunday, 17 May 2020

Easy eggless alcohol-free Tiramisu

My mom's 79th birthday was approaching and we were going to celebrate it at my brother's house. And this time she requested a homemade instead of store-bought cake! What a surprise, considering my mum is the most fussy food critic I have ever met. She must have been impressed by my chocolate banana cake!
Anyhow I was lazy yet I didn't want to disappoint my mum, so I thought of Tiramisu. As usual The Baking Biatch came to my rescue (or rather I went to her blog for help). Her recipe is so simple and delicious. I made some tweaks cos' I really wanted an easy way out, also made a chocolate version for the kids. Both were good.

Edit 16 May 2020: 
We are 3/4 into SG circuit breaker because of Covid-19. I bought tiramisu ingredients because Luis brought up a couple of times that I said I would teach him how to make this dessert.

When reading this post I realised that this was the last birthday that we celebrated for my mother. I’m glad that I documented it. 

Anyway after reading all my sad posts about my mother I decided to clean up this page since the original instructions/ingredients were too much. 

 This was the tiramisu that I brought to my mother’s house to celebrate her birthday. Very ugly but I’m keeping the picture here for remembrance. 
 

Makes 2 tabao kind of containers. Make sure to use the tall type because 3 layers reaches the brim. 
Otherwise just use any other containers. Just note that this recipe below uses about 48 fingers, which means about 24 fingers per container. There are three layers and because the container widens at the top, I used 6 fingers on the first layer and by the third layer I used 8 fingers. 
But it’s no problem if you use other containers. Before you start you just need to line your first base with fingers to count and gauge how many fingers you need and how many layers you can make. 
 
 
INGREDIENTS:

I made one coffee and one non-coffee container of tiramisu. Total two containers. 

Coffee: 
- 2 packets of Nescafé cuppucino, Make into 2.5 cups for one container worth of fingers. 
 
For non-coffee:  
- I used milo kosong and hot chocolate before. Whichever you like. Also 2.5 cups for the other container of fingers. 
 
Cream mixture:
- 500g mascarpone cheese
- 10 tablespoons whipping cream
- 4 tablespoons icing sugar (I used non- dairy cream which is already sweetened therefore 4 tablespoons of sugar is sufficient)
- 2 teaspoons of vanilla essence
 
Sponge base:
- 45 lady finger biscuits
This is from Cold Storage, there are 60 fingers inside so you will have excess. 

Others
- Roughly 3 tablespoons unsweetened cocoa powder
 

HOW:
 
1) Make the coffee and milo, pour each into a plate that is big enough for dipping. Let them cool down. 

2) Whip the whipping cream until you get stiff peaks

3) Put the mascarpone cheese into a big bowl. Use a spatula and mash it to make it soft-ish. Add icing sugar and vanilla essence. Mix with spatula till well combined.

4) Add the whipped cream to the cheese mixture and mix well. 

Get all your ingredients together. Now you are ready to assemble. 
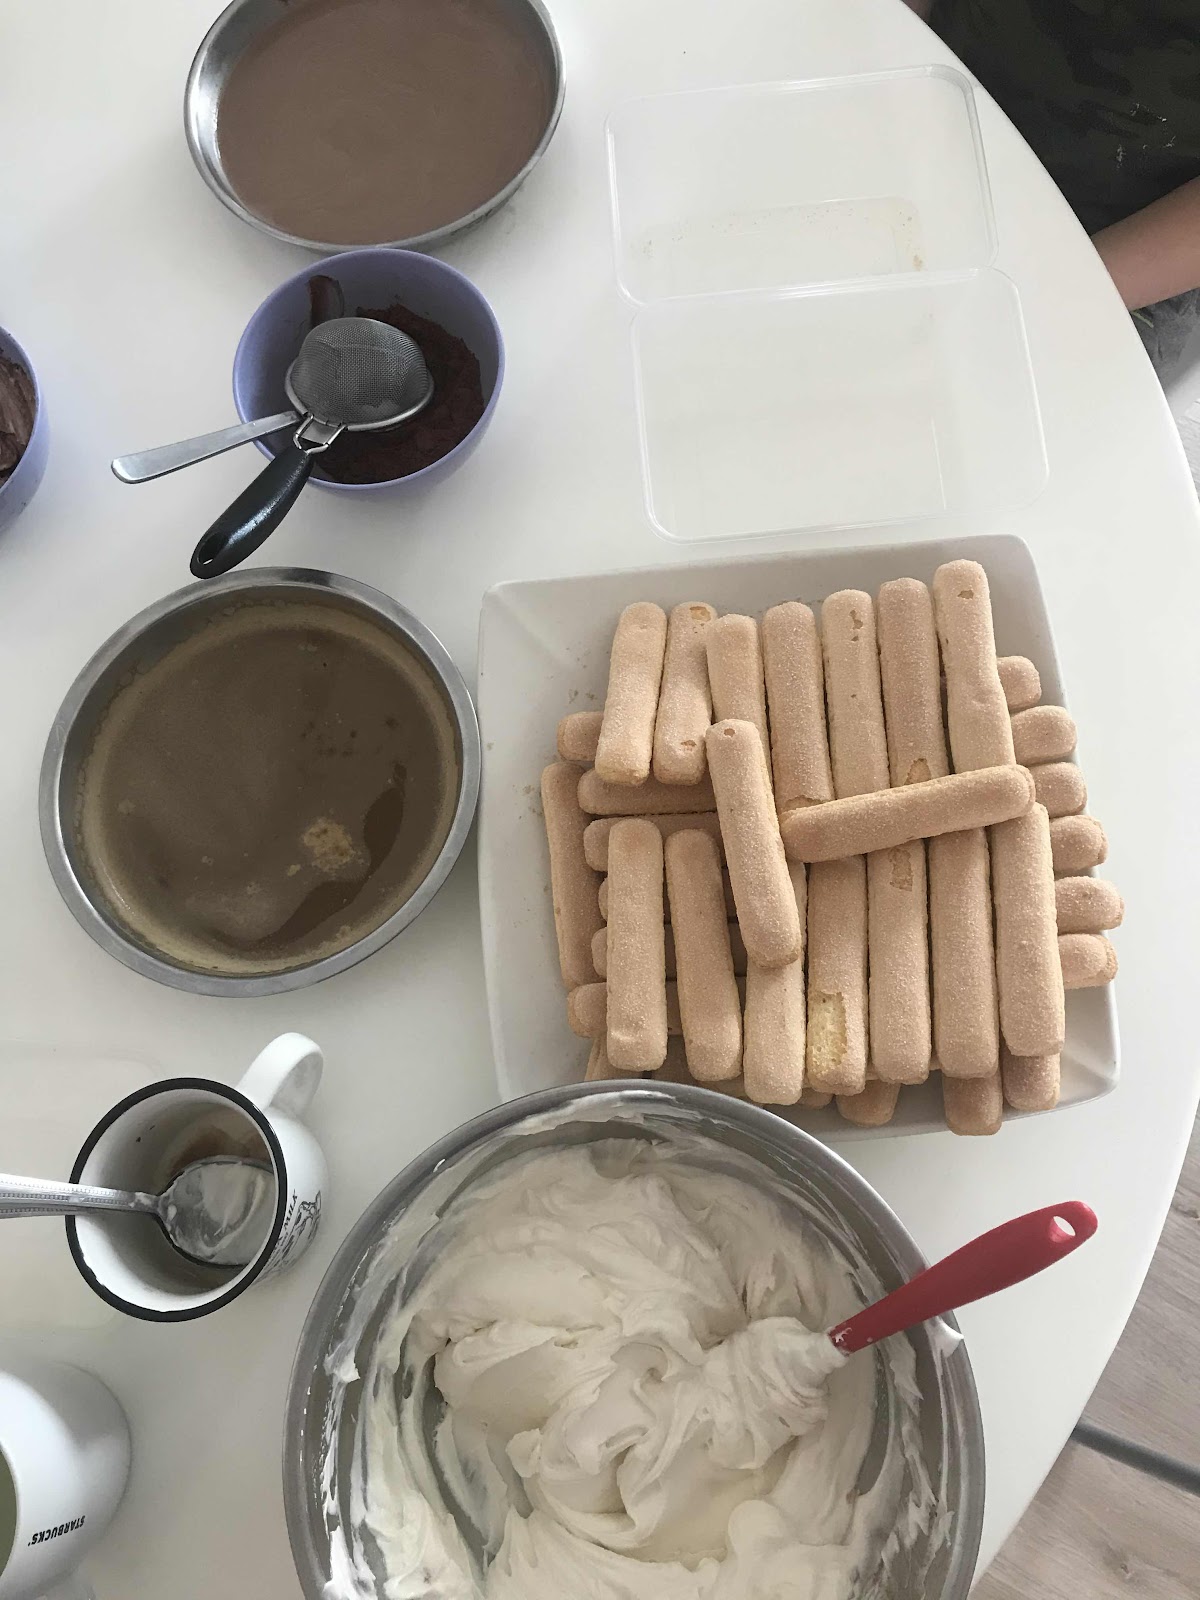


5) Dip a biscuit into the coffee and turn it around in the coffee once then remove swiftly to put into container. (It won’t be soft yet but resist the temptation to roll more times! I tried rolling 3 times and the end result is a soggy tiramisu cake.) Repeat till you complete one layer.
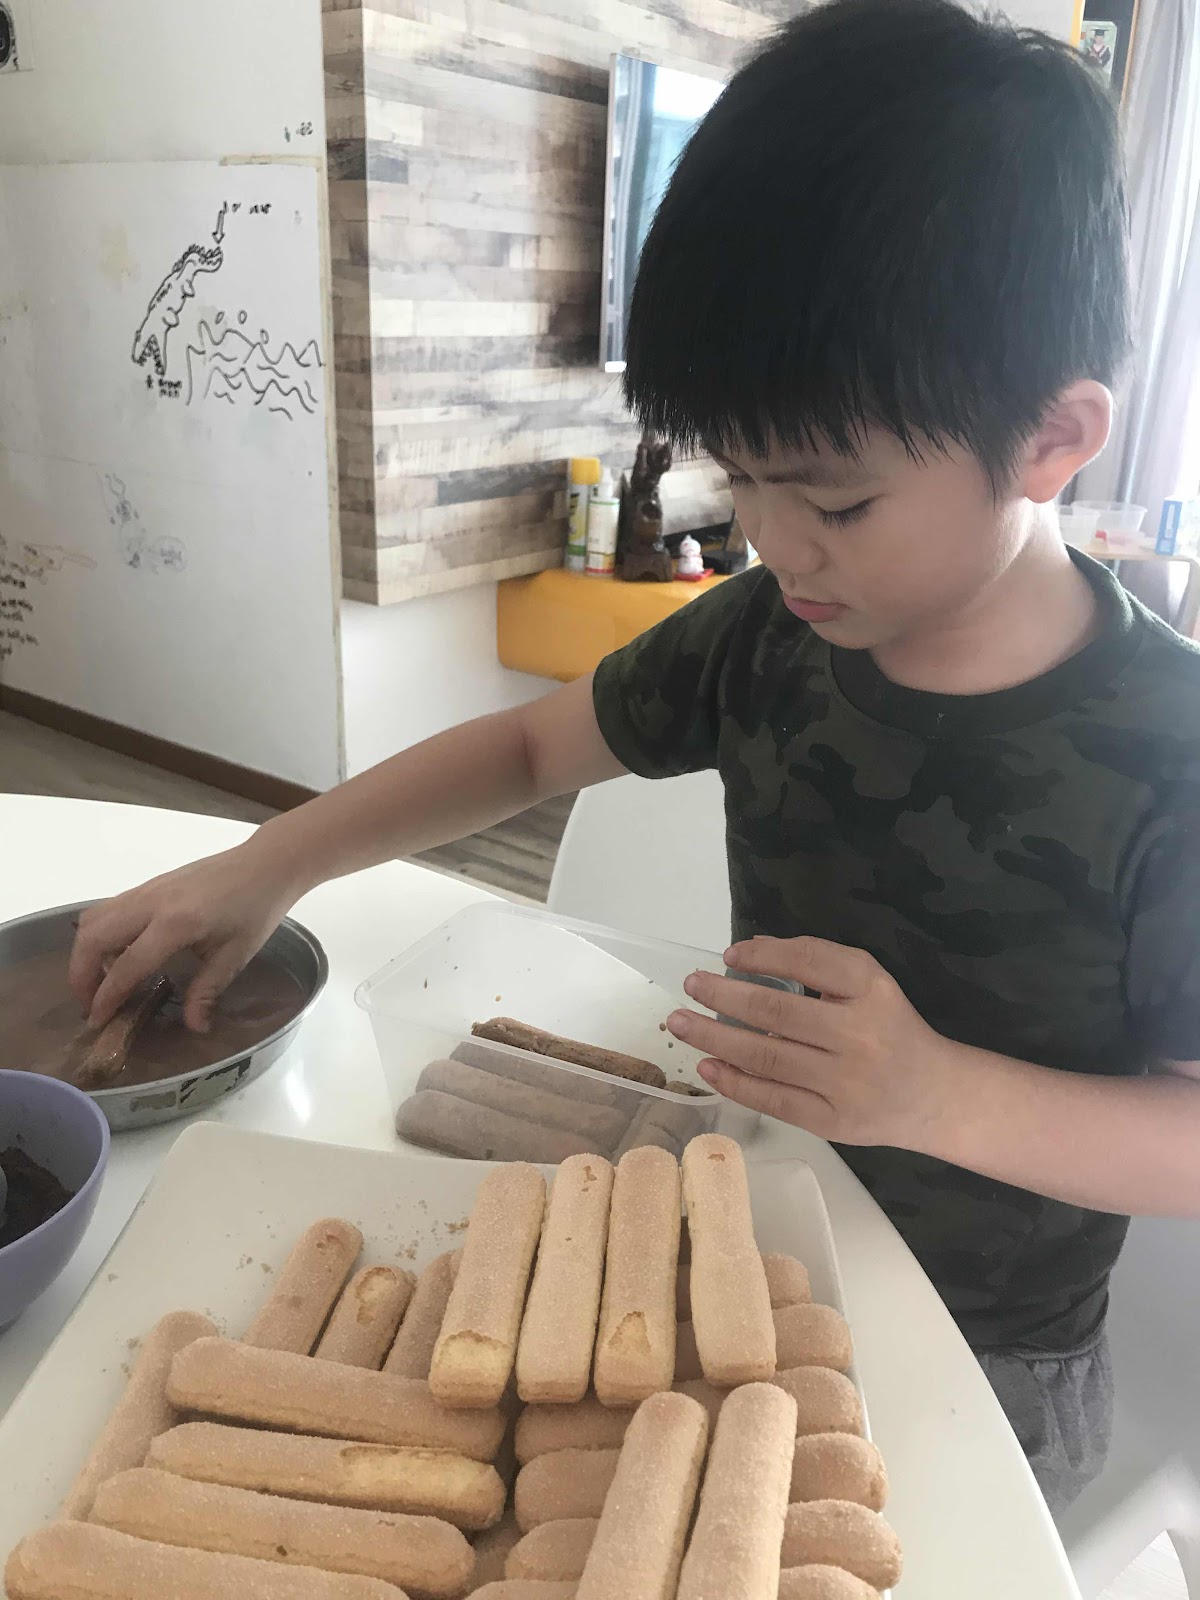
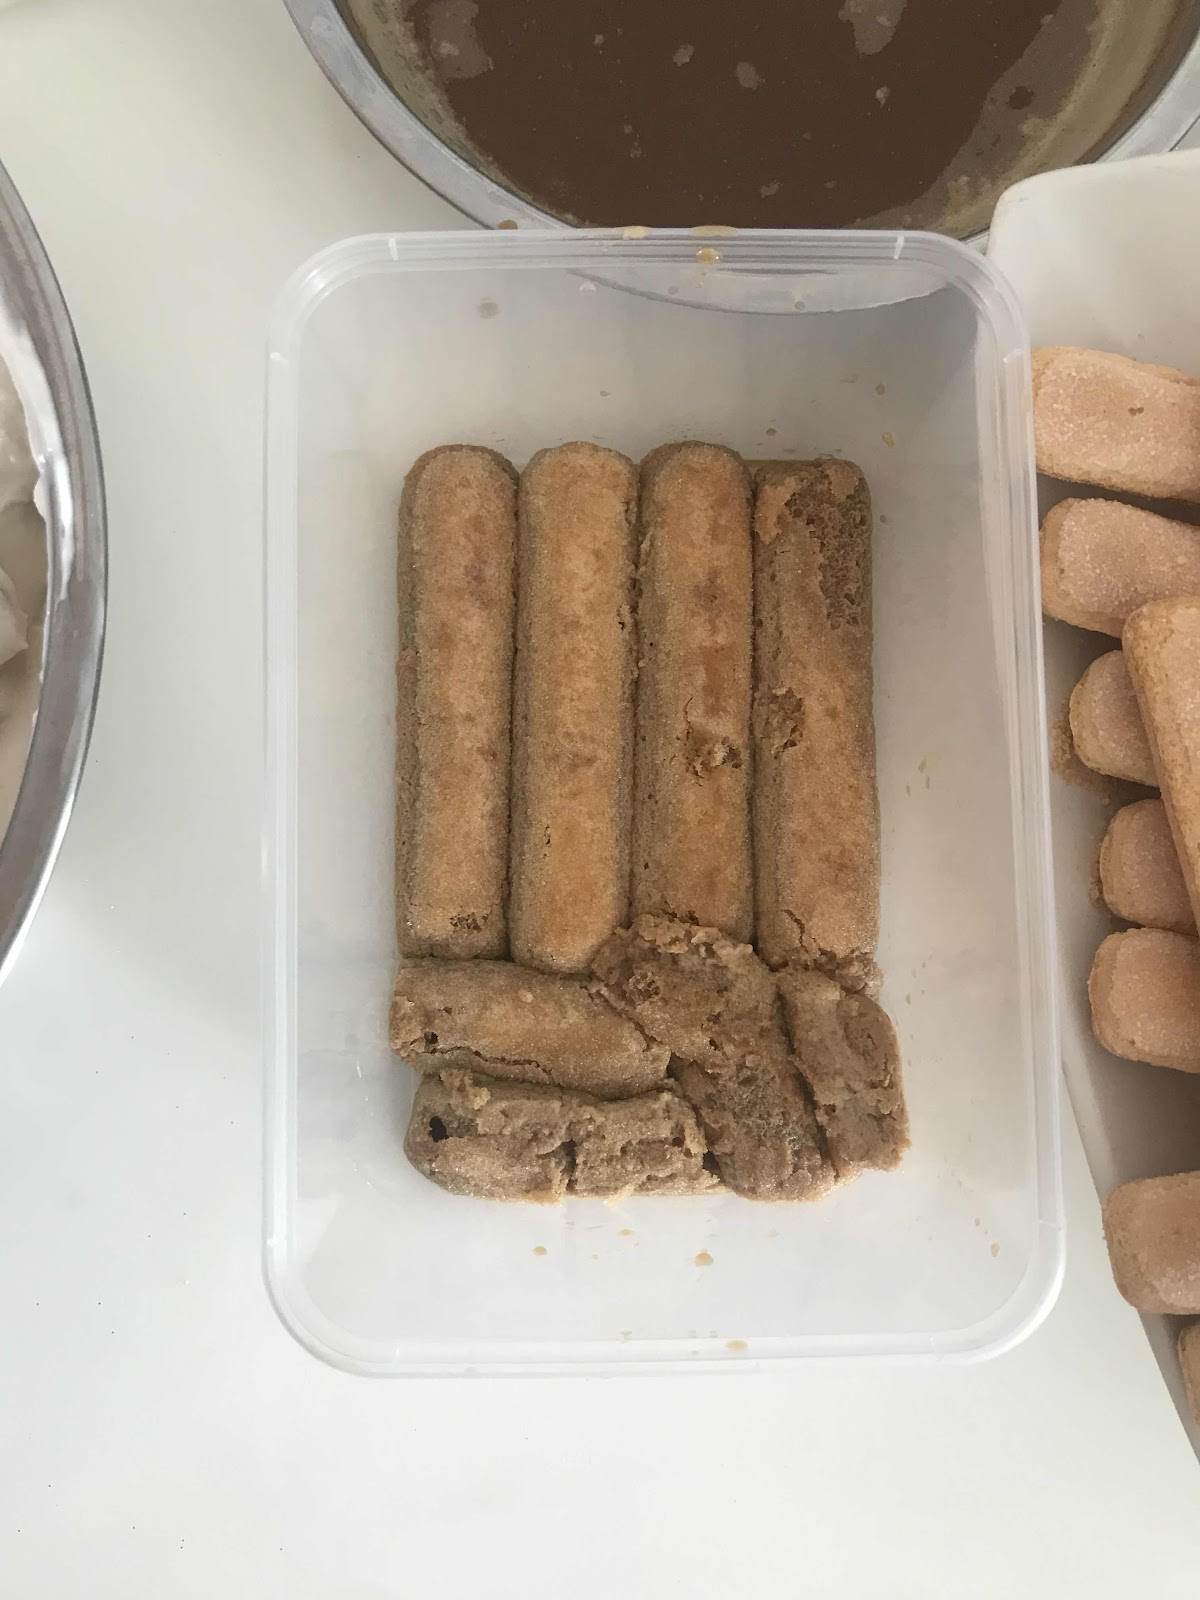


6) Spoon 2-2.5 tablespoonfuls of cream mixture on top of the first layer and spread evenly. Not too much else you don’t have enough cream mixture for the other layers. 

7) Sift cocoa powder on top of cream. 

8) Repeat 5-7 two more times. As the container widens towards the top:
First layer: 6 fingers, 2 heaped tbsp of cream
Second layer: 7 fingers, 2.5 heaped tbsp of cream
Third layer: 8 fingers, 3 heaped tbsp of cream
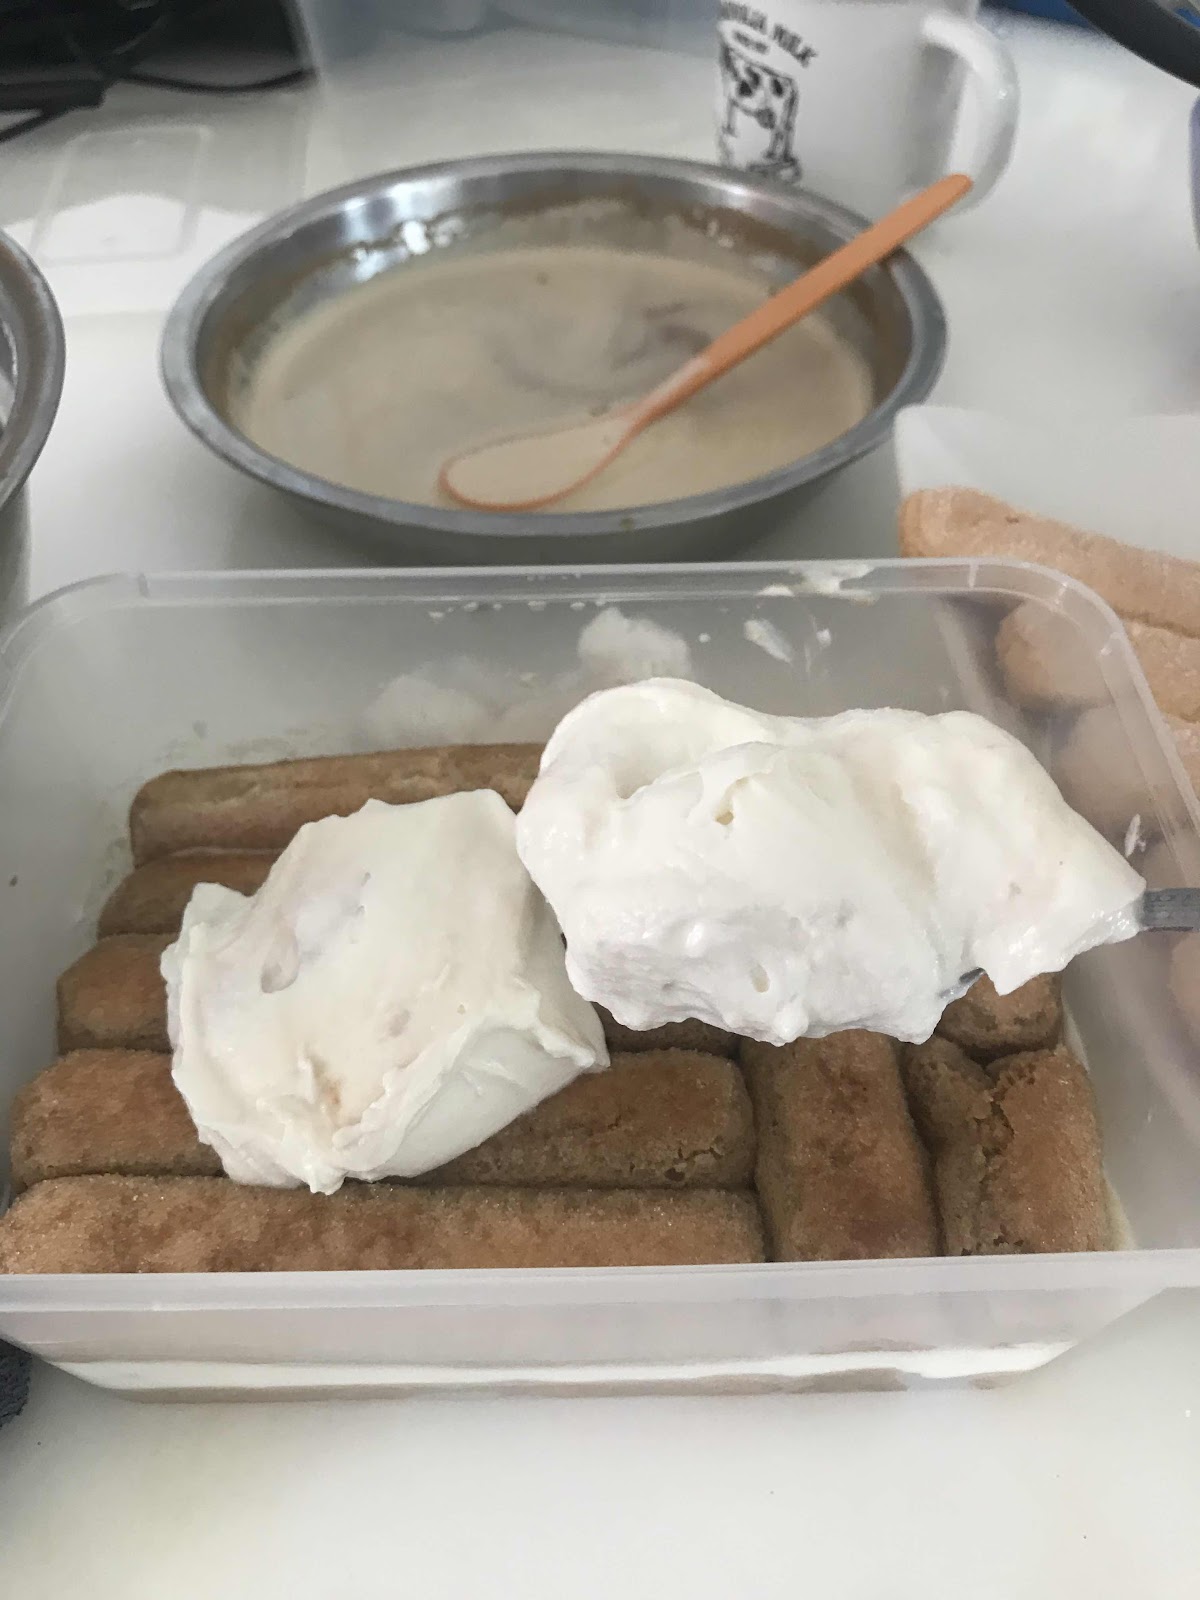
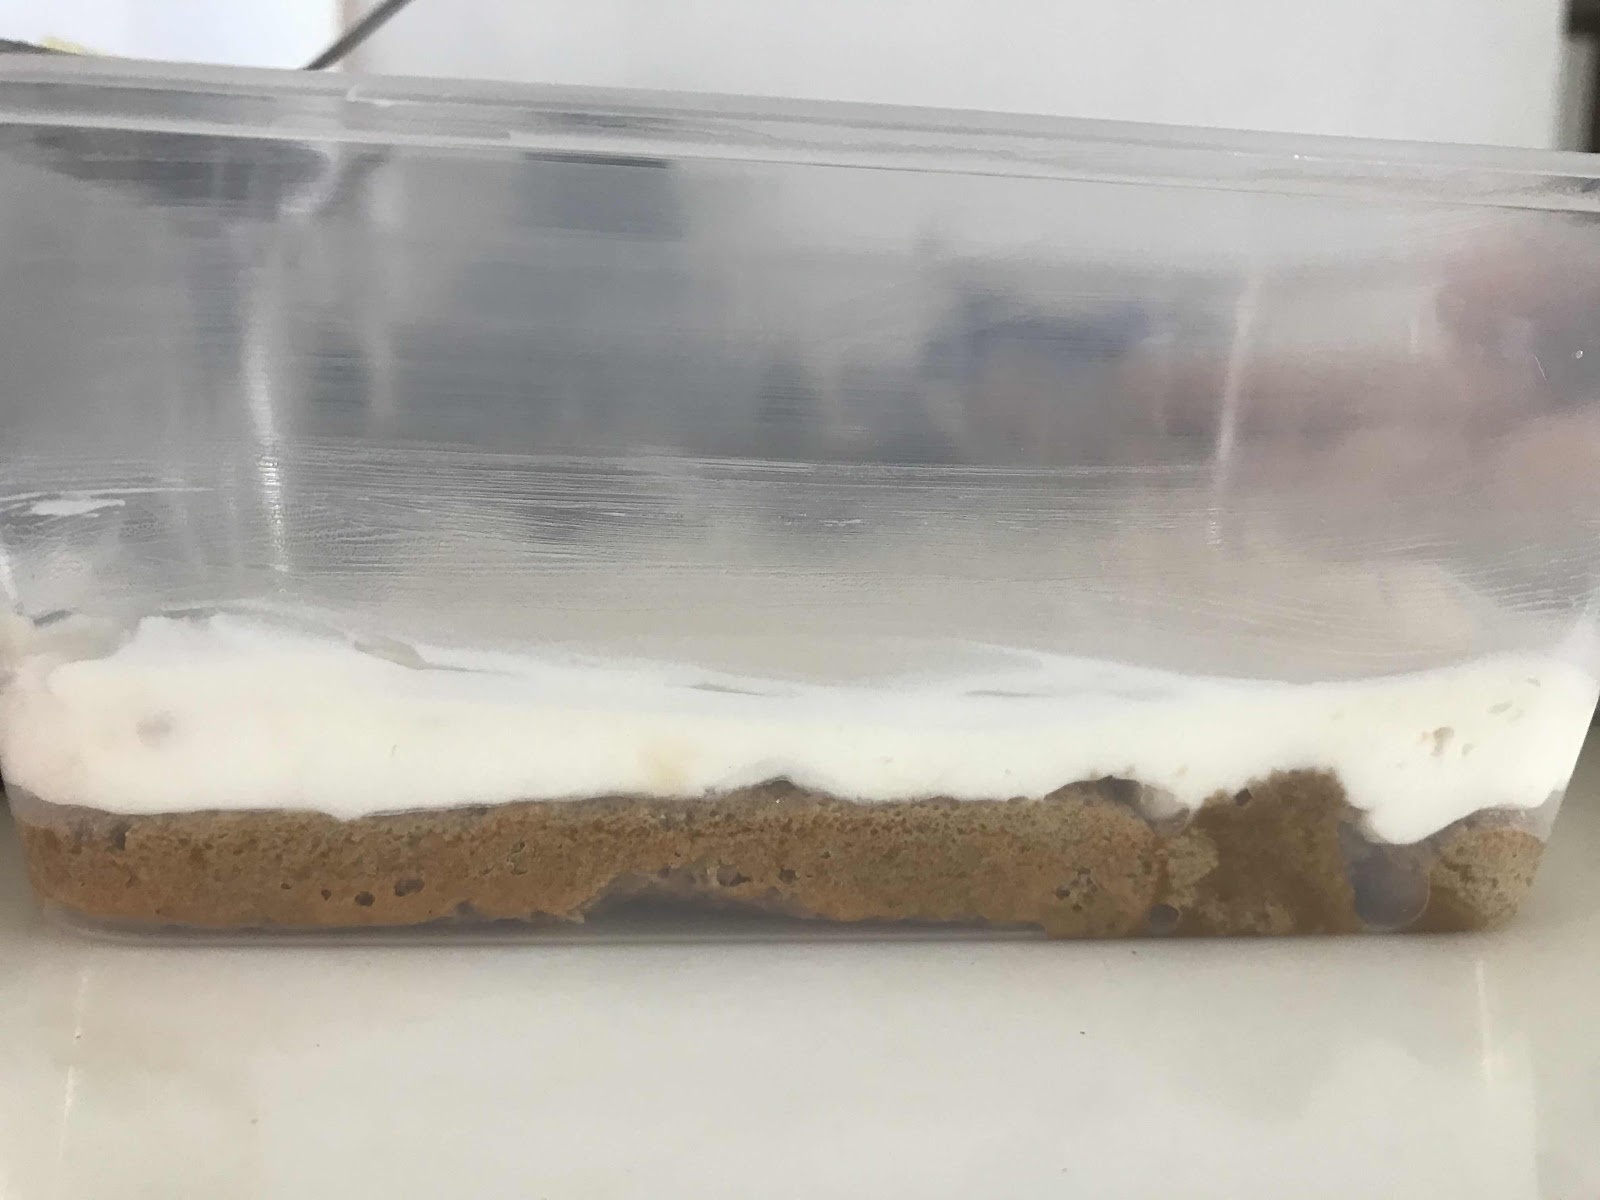

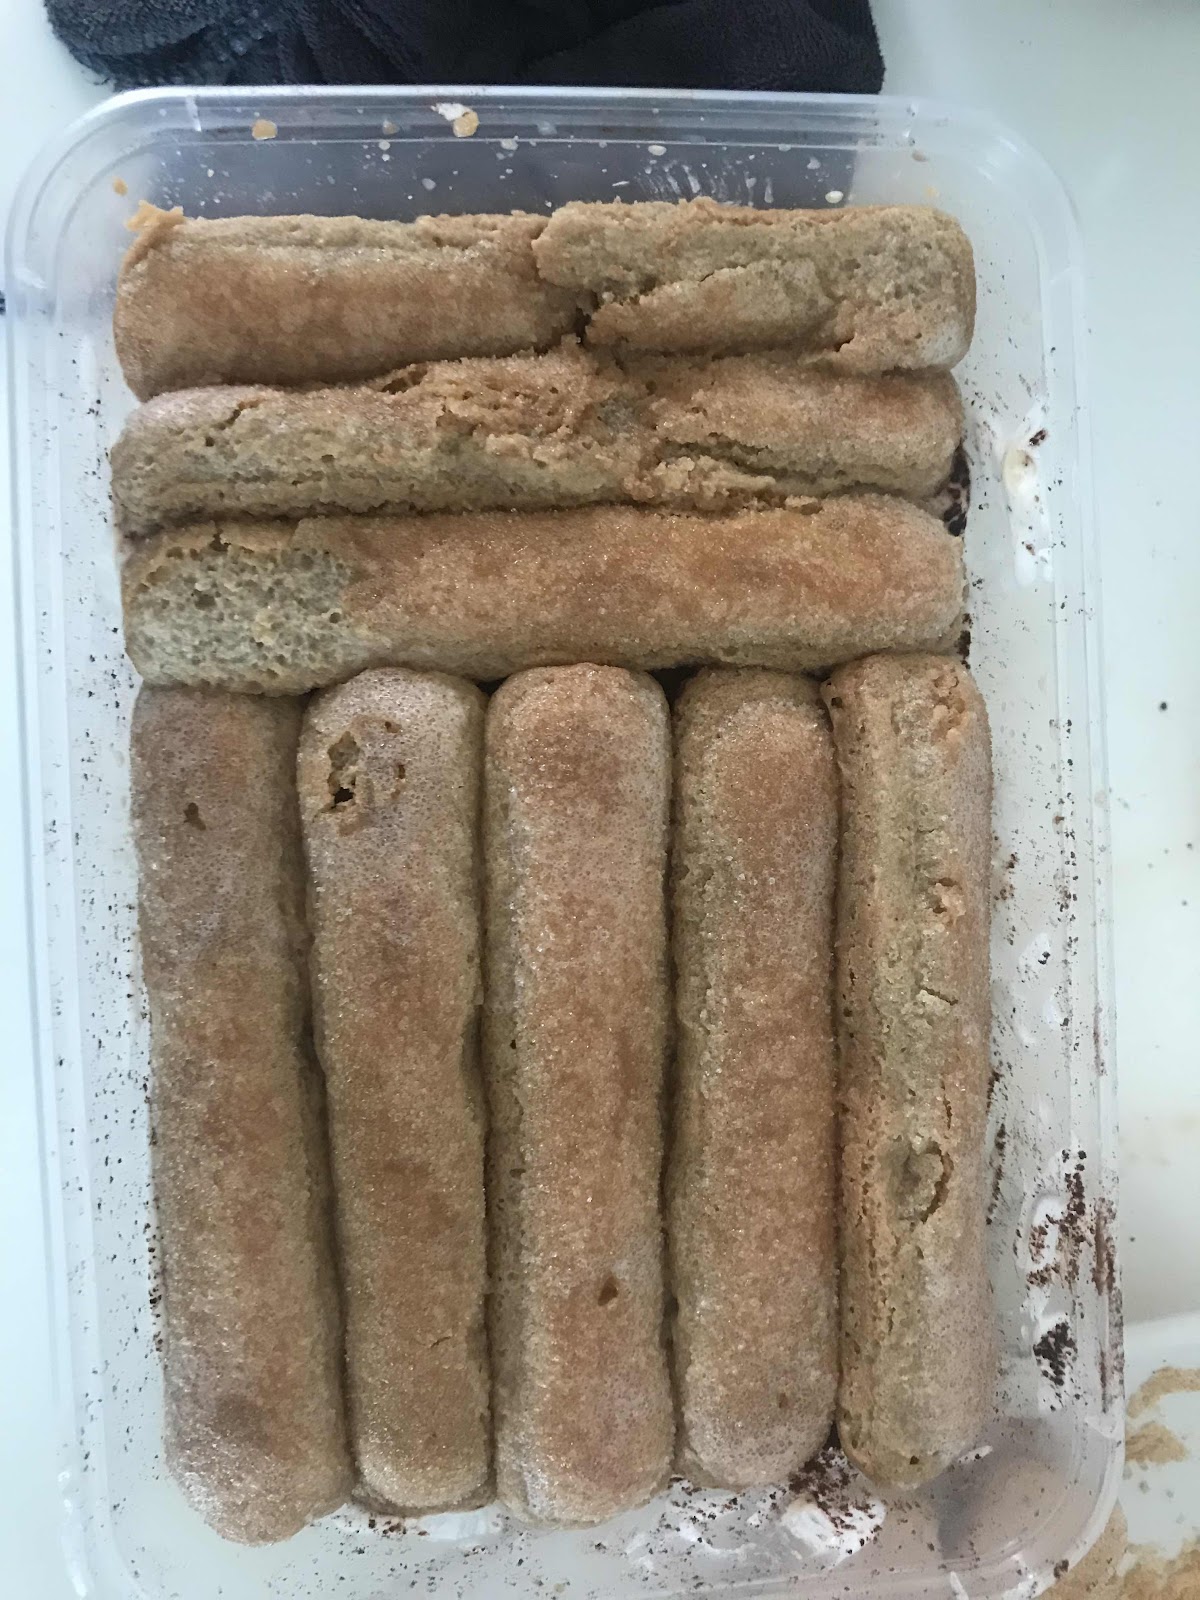

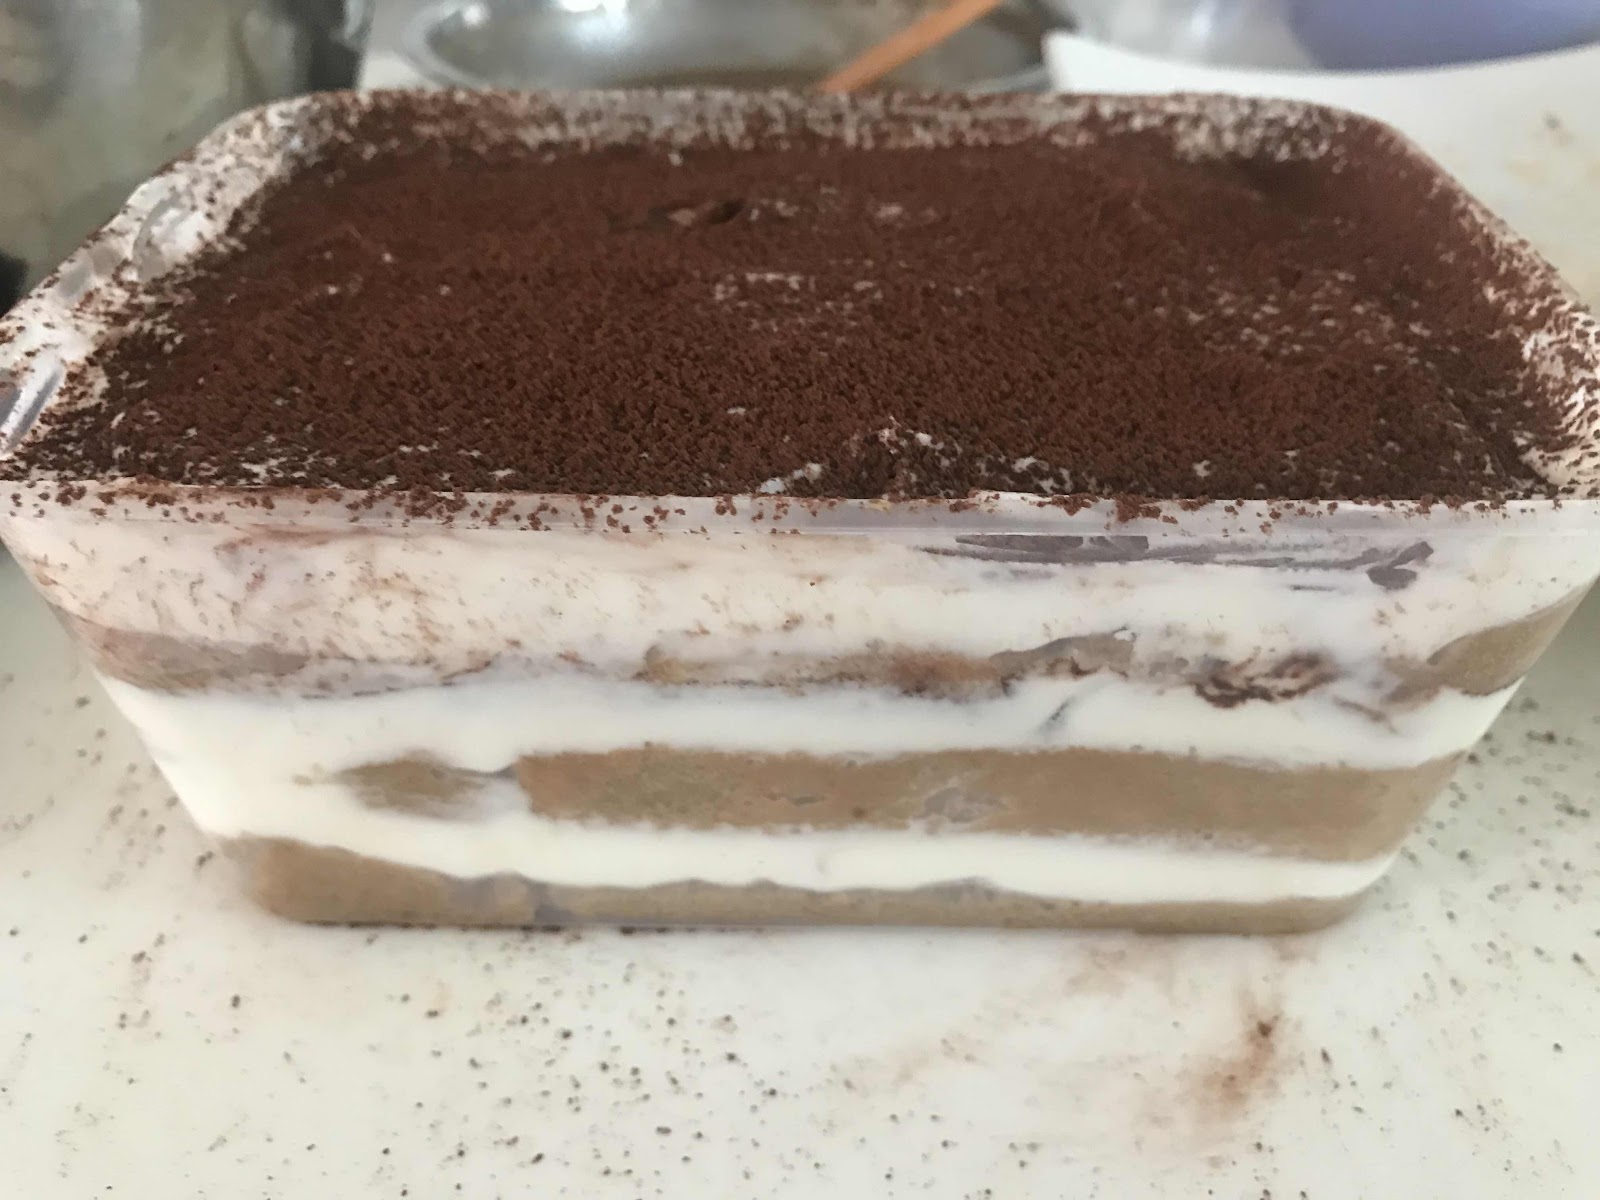


9) Chill in fridge for at least 6 hours, preferably overnight. 

Tuesday, 5 January 2016

Airfryer vegan lychee muffin


My niece is a vegan and I tried a couple of times unsuccessfully to make vegan tasty muffins for her. They tasted either too dry or too oily. But finally I found a winning recipe. It's moist and fragrant and is not at all inferior to usual muffins.  Not only that, it's super easy!
I have added lychee and I find it's really fragrant. I don't taste the banana (the egg replacement). But you can add what you want and try out. Here goes, it's so healthy and easy, you don't have to be vegan to try it. 


Makes 6 medium sized muffins. 

INGREDIENTS
Dry ingredients:
1.5 cups plain flour
1/4 cup sugar
2 teaspoons baking powder
0.5 teaspoon salt

Wet ingredients:
1/3 cup vegetable oil
1/3 cup mashed banana
1/3 cup soya milk
1-2 teaspoon vanilla essence (optional, but really fragrant if you are using chocolate chips filling)

Filling:
1 cup lychee 

HOW
1) In a big bowl mix all dry ingredients together

2) In a cup pour all wet ingredients together. Stir enough just to roughly mix it all up. Do this in a separate bowl if the cup is too full. 

3) Create a well in the middle of the flour mixture. Pour the wet ingredients into the well. Fold in with around 14 strokes maximum. It doesn't matter if you can still see bits of flour. 

4) Add the lychee and fold in. Don't worry that the mixture is quite wet. 


5) Preheat Airfryer to 180 deg C. 

6) Spoon muffin mixture into silicon cups and bake at 180 deg C for 9-10 minutes. 


There you have it!

Monday, 25 August 2014

Easy eggless alcohol-free Tiramisu

My mom's 79th birthday was approaching and we were going to celebrate it at my brother's house. And this time she requested a homemade instead of store-bought cake! What a surprise, considering my mum is the most fussy food critic I have ever met. She must have been impressed by my chocolate banana cake!
Anyhow I was lazy yet I didn't want to disappoint my mum, so I thought of Tiramisu. As usual The Baking Biatch came to my rescue (or rather I went to her blog for help). Her recipe is so simple and delicious. I made some tweaks cos' I really wanted an easy way out, also made a chocolate version for the kids. Both were good.


Makes 2 tins, each tin has 4 layers of 6 fingers/layer.
 
 
INGREDIENTS:
 
Coffee: 1.5 cups of coffee, I used 2 Dolce Gusto espresso and 2 Lungo capsules.
5 teaspoons sugar
 
For chocolate version, make hot chocolate:
3 slightly heaped unsweetened Hershey's cocoa powder
3 tablespoons sugar
Dash of salt
1 teaspoon vanilla extract
1 small scoop of milk powder (because I had no milk)
Roughly 1.25 cup water (or replace 1/3 of it with milk) 
 
Cream mixture:
500g mascarpone cheese
4 tablespoons whipping cream
4 tablespoons sugar
2 tablespoons vanilla paste
 
Others:
48 Savoiardi lady finger biscuits
Roughly 4 tablespoons unsweetened cocoa powder
 
HOW:
 
1) Brew the coffee using the Dolce Gusto machine. Add sugar. Pour into plate that is big enough for dipping.

2) Put all ingredients of the cream mixture into a bowl. Mix with spatula till well combined.

3) Line your tin with cling wrap with excess on each side if you want to remove it later. If not then use a cake ring (with no base).

4) Dip a biscuit into the coffee and turn to the other side then remove swiftly to put into tin. Repeat till you complete one layer.

5) Spread one layer of cream mixture. Not too thick as this amount of cream is not sufficient for thick layers. Else settle for just 3 layers of biscuits.

6) Sift cocoa powder on top of the cream.

7) Repeat steps 4-6 three times.

8) Cover the top with cling wrap and chill in fridge for at least 6 hours, preferably overnight.

9) Before serving, remove by holding the cling wrap excess or remove cake ring.


Friday, 18 July 2014

Air fryer eggless chocolate banana bread pudding

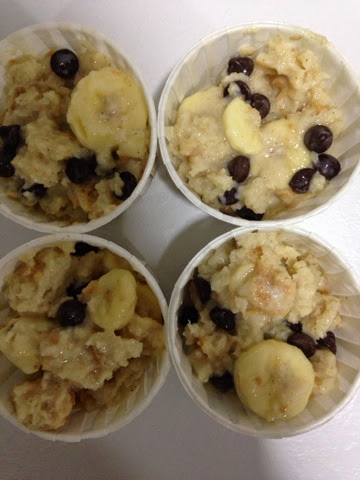
This is rather similar to the apple raisin bread pudding recipe, except this time I was lazy and didn't put the crumble on top. I woke up at 6am to make it. The preparation cum cooking was so fast, so while it was cooking I got ready for work. And then I even got a chance to sit down with Lucas to eat it before leaving for work. 
Yummy!


Recipe adapted from http://www.vegan.com/recipes/vegancom-top-10-recipes-of-2008/banana-chocolate-chip-bread-pudding-vegancom-top-10-recipe-2008/

Makes 4 soufflé cup and 1 6-inch round cake pan

INGREDIENTS:
6 cups 1″ cubed bread
1/2 cup chocolate chips
2 ripe bananas, sliced ½” thick
1.5 cups unsweeten soy milk (can add more if bread pudding looks too dry)
2 teaspoons corn starch 
½ cup honey
1 teaspoon vanilla extract
½ teaspoon cinnamon


DIRECTIONS:

1) Grease a 6-inch round pan or your soufflé cups with oil or butter. 

2) Place cubed bread in a large bowl.

3) In a small bowl whisk together ½ cup soy milk and the corn flourtill no lumps remain.

4) Add remaining soy milk, honey, vanilla and cinnamon and whisk to combine. 

5) Pour over cubed bread and stir to coat every piece. 

6) Now, preheat Airfryer to 170 degree Celsius.

7) Allow bread mixture to sit for at least 15 minutes for liquid to soak into bread. Depending on what kind of bread you use and how stale it is, add more soy milk (¼ cup at a time) and allow more soaking time till every piece of bread is saturated and there’s a little bit of extra liquid. Mixture should look mushy and wet. 

8) Fold in chocolate chips and bananas 


9) Pour mixture into pan or soufflé cups, patting down to make an even top.


10) Bake 18 minutes till top is puffed, slightly browned and feels firm. 


Taste is good! But some of it stuck to the sides and some top parts were hard. Perhaps try a shorter timing or lower temp next time. 

Monday, 2 June 2014

Airfryer eggless apple crumble bread pudding

I'm not a bread pudding fan. To me it's soggy bread in some eggy mixture that is not tasty. However I have leftover bread and I do not like to waste food. So I made a bread pudding that is not soggy and I added crumble on top to make the overall taste even less soggy-like. It was so good that I had to wake my husband up at 1am after I made it. And it was so good that he sat up and ate it!

Serving size: Around 8 pax, need to bake 2 batches using a 6-inch round pan or ~11 souffle cups.
 
Ingredients:

DRY INGREDIENTS:
- 300g bread cut roughly into 3cm by 3cm pieces (I used homemade cranberry bread because that's what I had)
- Roughly 1 1/3 cup of filling (I used 1/2 cup raisins, slightly more than 1/2 cup apple, and some walnuts. It's perfect.)

WET INGREDIENTS:
- 3/4 evaporated milk (because that's what I had leftover from making chocolate cake)
- 3/4 cup water
(Or you can used 1 1/2 cups of whatever milk you want)
- 5 tablespoons honey
- 2 teaspoon corn starch
- 2 teaspoon cinnamon powder
- 1 teaspoon vanilla extract

CRUMBLE:
- 11/3 cup plain flour
- 3/5 cup brown sugar
- 100g butter

Now we can start:

1) Add dry ingredients together in a big mixing bowl

2) Add wet ingredients in another bowl and mix well. 

3) Pour wet ingredients into dry ingredients and leave it to soak for at least 15 min. Now and then toss the bread to enable even soaking.

4) Put flour and sugar in another bowl and mix. 

5) Now (not before!) take butter out from fridge and cut into cubes. 

6) Add butter to flour mixture. Toss butter in mixture. 

7) Preheat airfryer to 180 deg C for 5 min. 

8) Using your fingertips, rub butter in flour mixture till they  look like breadcrumbs. If too much butter, either throw some away or add flour and sugar. Personally I think you should add flour and sugar because even when I felt the crumble was too much, it didn't feel so when you eat them. 

8) If you plan to move the pudding to another container for keeping in fridge or because you need to use the same pan for the 2nd batch or whatever, line the pan with baking paper and grease it. I made it two layers so that it can keep its shape when I lift it up into another container. 

9) Put crumble on the bottom of pan, then add half the bread mixture. Don't pour in the liquid (because I don't like it to be soggy), just scoop into pan with spoon. 

10) Top generously with crumble. 

11) Bake in airfryer at 180 deg C for 22 min ( I tried 25 for 1st batch and it was a little burnt). 

12) And voila! 

It tastes very much like apple crumble. You wouldn't know that it's made of bread. 

If you are health conscious, skip the crumble because that's where the sugar and butter will add to your waistline. But it's also the most delicious and crunchy part of the pudding. Or simply sprinkle with brown sugar on top instead, might still get some crunch.

I kept it at room temperature for 7 hours before transferring to fridge. Ate it and didn't have any problems. But to play safe you might want to store in fridge and warm it up when you want to eat it. 

Serve with vanilla ice cream if you have, will be even more fabulicious!

Enjoy!